Showing posts with label Easel Card. Show all posts

Monday, 24 September 2018

Creative Team Blue Post Easel Card

Creative Team Blue Posy Easel Card

by Cheryl Peterie
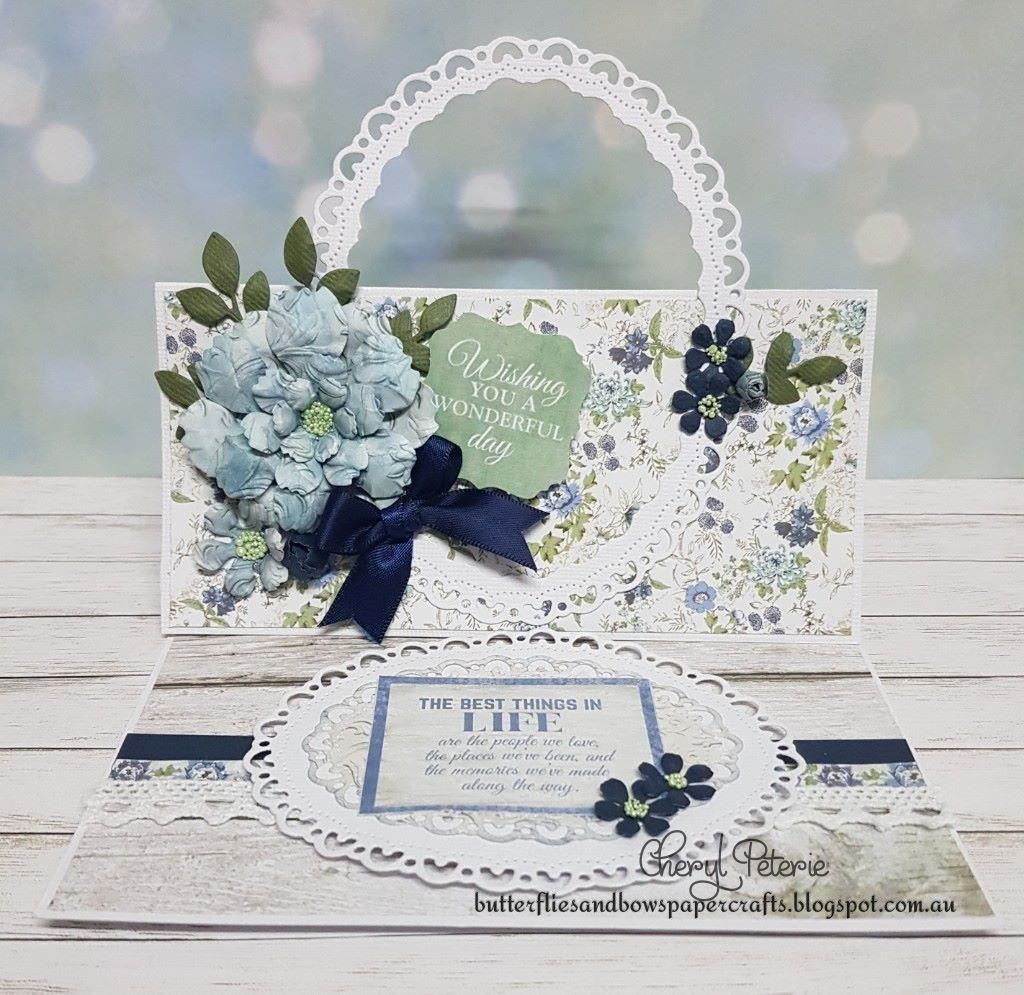

Supplies:

12" x 12" Smooth White Card stock
Kaisercraft Cardstock - Forest
Kaisercraft Cardstock - Navy
Kaisercraft - Wandering Ivy 12" Paper Pack
Kaisercraft -Wandering Ivy 6½" Paper Pad
Navy Satin Ribbon
White Lace
Flower Shaping Kit

Tools

Basic tool kit (Crafts4U trimmer, scissors, Crafts4U double sided Tape, Crafts4U Foam Tape, pencil, tweezers etc), Glue, Washi Tape (for holding dies in place), Die Cutting Machine.


Instructions

(NB; with nesting dies No.1 being the smallest)

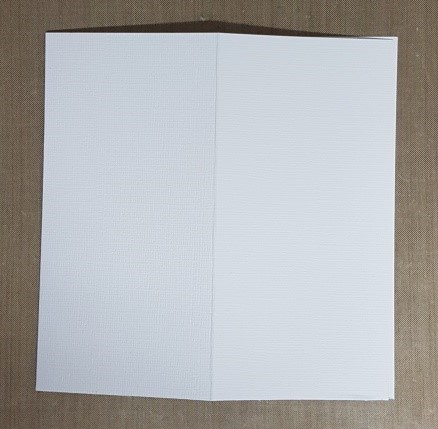
Cut a white card base to 12" x 6" fold in half to a 6" x 6" square & score, open out flat then fold the left side to the centre fold line to create the easel fold.


 Die cut the following pieces
·         No.5 & No.4 Decorative Ovals to make a frame from white cardstock.
·         No.1 Decorative Oval from a piece of pattern paper blend the edge of this oval with Distress Ink-Stormy Sky.


To make the large flower die cut the following petals from the same paper as the No.1 oval & blend with Distress Ink - Stormy Sky, once cut & blended assemble & add prills to the centre

·         Two - No.5 petals

·         One - No.3 petal

·         One No.2 petal (cut an extra one for the single flower)

·         Two No.1 petals shape & form into a bud

Navy Cardstock - die cut two No.2 petals shape & form into a bud, die cut four No.1 petals shape leave single & add prills to the centres. (Best Wishes sentiment pictured instead of Wishing You)


Cut the following pieces

1.       Background panel to fit the inside base of the card leaving an even border.

2.       Cut from the same paper as above a 7.3cm x 15cm & attach to the top panel of the card front.

3.       Cut from the floral paper 7.3cm x 15cm & attach to the bottom panel on the card front

4.       Cut a 1cm x 15cm strip of navy cardstock.

5.       Cut a 1cm x 15cm floral strip.

6.       Cut a 15cm piece of lace & attach pieces 4, 5 & 6 to the bottom of the inside base panel.
 
 
Attach the pattern decorative oval to the white decorative oval, next attach the "Best things in Life" sentiment to the centre of the ovals & adhere two small navy flowers to the bottom corner of the sentiment, then using foam tape mount to the inside background panel to make the base stopper.


Attach the bottom half of the decorative oval frame to the bottom panel of the card front, add the leaves, flowers, buds, sentiment & to finish tie a bow from the satin ribbon dove tail the ends & adhere to the bottom of the flowers.


Monday, 3 September 2018

Creative Team Sunshine Fairy Easel Card

Creative Team Sunshine Easel Fairy Card

by Cheryl Peterie


Supplies:

Kaisercraft Fairy Garden Collectables pack
Kaisercraft 12x12 Paper - Chartreuse
G.C.D Studios 12x12 Paper - Abbies Sunshine
Sticky Pearl Strips
Satin Ribbon 1/4"
 
 
Basic tool kit (Crafts4U trimmer, scissors, Crafts4U double sided Tape, pencil, tweezers etc), Die Cutting/Embossing Machine, Washi Tape (for holding dies in place).


Instructions:

 
Start with a base of White cardstock measuring 10cm x 30.5cm, fold in half & score then fold the left edge to the centre line & score, next cut a 10cm x 15.3cm background mat.
 
 
Place some double sided tape on the front panel as shown & attach the background mat to the base card.


Die cut the Crafts4U Die Layered Frame 1 from the Abbies Sunshine- pattern paper (yellow daisy side) & adhere to the card front leaving an even border top & bottom, next using the Crafts4U 12mm x 4m Foam Tape mount the cut-out back in place to the card front.


(NB; with nesting dies No.1 being the smallest)


  1. Attach the dots embossed frame to the centre of the card front over the mounted daisy label leaving an even border.
  2. Adhere the embellishments from the Fairy Garden Collectables pack (ie: leaves, banner, butterfly) one large flower from the Little Birdie Bernadette Lemon 6pk, & two small flowers from the Little Birdie Curly Rose Yellow 12pk to the card front.
  3. Place the mounted glitter fairy to the card front.
  4. Tie a small bow & adhere to the bottom under the large flower.
  5. Add a strip of sticky pearls along the top & bottom of the background frame

Base Stopper
Cut a 5.5cm x 10cm piece from the Chartreuse - (yellow pattern paper) & attach to the bottom inside of the card base, attach the No.1 yellow sentiment label to the No.2 embossed dots white label & mount to the centre of the base stopper next add a small butterfly from the Fairy Garden Collectables pack to the bottom right corner.


Wednesday, 27 June 2018

Creative Team Vintage Dreams Easel Card

Creative Team - Vintage Dreams Easel Card

By Creative Team Member - Cheryl Peterie

 
Supplies:
 

Crafts4U 100mm x 20m Double Sided Tape 30010 (aka toilet roll)
Crafts4U 6mm x 50m Double Sided Tape 30008
Crafts4U 12mm x 4m Foam Tape 2mm thick 30004
Crafts4U Die Diamond Frame 10193
Crafts4U Die Stacking Tags (11 dies) 70060
Crafts4U Die Lamp Post 70010
Crafts4U Ultra Fine Glitter Black 20g Jar
Little Birdie Renae Dusty Rose 27pk CR63046
Kaisercraft Paper Pad 6.5 X6.5in 40/pk Pen & Ink PP1041
Pen & Ink Collectables Cardstock Die Cuts CT934
Distress Pad Frayed Burlap
Crafts4U 2 x Mini Ink Round Blending Tools with 4 Foams 10053
12" x 12" Brown Cardstock
Porta Craft Ribbons

Tools

Basic tool kit (Crafts4U trimmer, scissors, Crafts4U doublesided Tape, Crafts4U Foam Tape, pencil, tweezers etc), Glue, Washi Tape (for holding dies in place), Die Cutting Machine, Paper Distresser.
 
 
Instructions
Start with a base of brown cardstock measuring 10cm x 30.5cm, fold in half & score then fold the left  edge to the centre line & score again, next cut a 10cm x 15.3cm background mat.
 
 
Place some double sided tape on the front panel as shown & attach the background mat to the base card.


Die cut the Diamond frame on to a piece of A5 white card, cut off the right side & lightly blend with Distress Ink - Frayed Burlap.


From the Pen & Ink paper pad cut a background panel to 9.7cm x15cm distress the edges & blend with Distress Ink - Frayed Burlap, adhere the cut piece of diamond frame using glue only along the border edges. Attach a piece of ribbon along the bottom then attach the panel to the card front.

Base Stopper

·         Cut a 4.2cm x 5.8cm panel from a leftover piece of the same paper used as background(NB: pattern will be in different direction) distress & blend the edges.
·         Cut a 4.6cm x 9.2cm mat from the coordinating paper pad
      ·          Cut a 5.2cm x 10cm mat from the brown cardstock.
Adhere the above three panels to each other leaving an even border & attach to the inside base.


Apply some 100mm x 20mm double sided tape to the A5 - White Card die cut the lamp post (a shim maybe needed due to the thickness of the tape & card) Peel the backing off the tape side, using a craft tray apply the black glitter & tap off excess


(NB; with nesting dies No.1 being the smallest) 

·         Die cut the No.3 Tag from the same paper as the base stopper mat & tie a piece of ribbon through the hole.
·         Using foam tape mat the "Best wishes" sentiment(from the paper pad) onto a piece of brown cardstock & place more foam tape on the back to give extra height.
         ·          Distress the edges of the bingo card(from the collectables pack) & attach to a brown mat also distressing the edges.
         ·          Place some foam tape to the back of the clock(from the collectables pack) & the "for someone very special" sentiment (from the paper pad).
 
Attach the tag under the diamond frame, then attach the bingo card & clock over the top on an angle. Mount the lamp post with foam tape & place to the left of the clock, next adhere one flower & two leaves from the Little Birdie Renae - Dusty Rose flower pack.


Last mount the "Best wishes" sentiment to the card front & the "for someone very special" sentiment to the base stopper. (NB: cream coloured copy paper can be used as an insert)

Created by Cheryl Peterie for Catchy Crafts